Roofing shields us from the elements. They provide a secure enclosure and keep us safe from weather extremes.
We must make sure that roofs are durable. Several guards are put into ensuring that roofs stay put over long periods.
The durability of your roof is dependent on more than just the roofing material. All materials become vulnerable to weather extremes over time, whether through corrosion or wear and tear. It is why roofs must stay put for long periods.
One of the measures taken to ensure that roofs last long is using drip edges. Drip edges are metallic extensions placed at roof edges.
These extensions prevent water from entering beneath your roofing components, thereby protecting your roof.
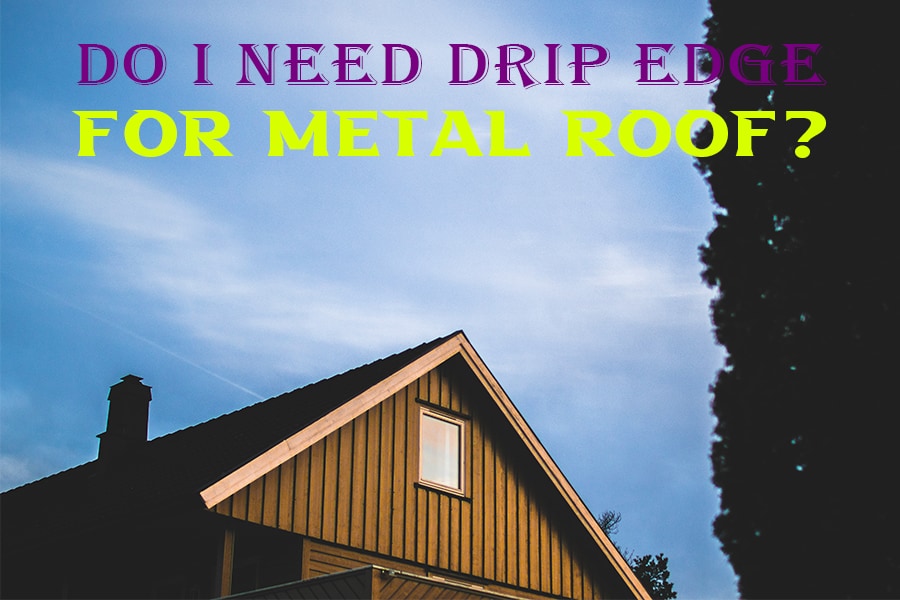
So, Do I need drip edges for a metal roof?
It depends on the distance between the roof edge and the fascia and whether or not the edge is angled. If the distance between the edge and the fascia is less than an inch, you need to install a drip edge. The edges need to be angled downward if you don’t want to install a drip edge.
Other Reasons Why A Drip Edge Is Necessary
Drip edges are important, not just for durability and preventing runoff water from entering underneath the roofing material.
The primary function of drip edges is to keep runoff water away from the roofing fascia, as it causes corrosion—other benefits of installing a drip edge beyond just preventing the fascia from falling apart.
Drip edges are a necessary addition to any roof. What other benefits do they offer?
1. Redirecting Water
When it rains or snows, water tends to get held up on the roofing edges. It is especially true for slanted roofs.
Water may bet lodges, especially if the edges barely receive enough sunlight to vaporize the water during the day.
Water on the edges is not good. If the water is logged for days, the roof edges will unravel. Water on the edges is bad, especially for wooden roofs. It causes rapid degradation, and you will need to replace the roofing frequently.
The water is actively channeled away from the edges and directly into the gutter with drip edges. The result is a dry and durable roof edge.
2. Keeping animals away from the attic
Animals such as ants, bats, and squirrels love staying in attics. Attics are safe and warm and provide adequate protection from the weather. These creatures will stay in attics during winter.
These animals may cause damage to your property. Ants may start feeding on ceiling boards. Bumblebees may drill holes in the boards and cause the roofing to look unsightly.
You must protect the roofs by installing a drip edge. Drip edges make it virtually impossible for ants and other creatures to get into the attic by providing a tight seal.
It is unlikely that ants will pry the boards to access the attic, as they are usually properly reinforced.
3. Improve the appearance of your home
Drip edges make homes look better. These fixings give the roofs a better aesthetic, especially if they are color-coordinated with the roof.
A house without a drip edge looks rough and unfinished. The metallic fixings add a bit of polish and enhance the house’s overall look. The drip edges are not only functional but also fashionable.
How To Install A Drip Edge
Installing a drip edge is something that you can do at home. All you require is the right tools and a bit of ingenuity.
The most important thing to remember when performing an installation is safety. You must keep yourself free from danger by following basic safety requirements and common sense.
If you cannot install a drip edge safely, or if you lack the tools, you should ask a professional to do it for you.
These are the steps that you should follow:
Step 1: Start on the eaves
Align the drip edge to form an angle. The alignment should ensure that runoff water gets channeled to the gutter. When installing, ensure that the flange is angled towards the ground.
Step 2: Secure the drip edges
When mounting the drip edge, it is important to start with the ends. All you require is a hammer and 12-inch nails. You may use a rubber hammer to avoid denting the roofs and the drip edge during installation.
Step 3: Trim the edges
You might not always get the correct length with drip edges, so you should trip the excesses for a custom fit.
How do you know where to cut the excess? Measure about one inch where the drip edge overlaps. Mark the point using a felt tip. Saw off the tip using a cutting tool.
Step 4: Protect the rakes
Install the drip edge on the rakes. Secure the edge in place using 12-inch nails.
Step 5: Sealing
Sealing is the most important part. If you do not seal the roof properly, you will be required to start all over.
How do you get the perfect seal? Use a light cement mix on the roof. Spread the cement evenly over the roof.
Add weights on the roof to ensure that there is sufficient compression. The cement will secure the drip edge.
Types Of Drip Edges
There are three types of drip edges:
1. L-shaped drip edge
These are drip edges that have a 90-degree angle.
2. Type F drip edge
An extended leading-edge characterizes the F-type drip edge. It is perfect for rake edges.
3. Type D drip edge
The drip edge is T-shaped and has its flange positioned at the bottom.
When Should You Repair The Fascia?
Fascia is a board placed on the vertical portion of the roof. It serves many purposes.
The gutter and drip edge protects the fascia from runoff water from the roof, maintaining dryness and durability. The boards might deteriorate over time due to the elements and natural wear and tear.
These boards usually last for years, but eventually, you will need to replace them. How can you tell when the fascia is due to be replaced?
1. Large holes
Fascia is durable enough to withstand a lot of damage over the years. These boards are not impervious to some drilling insects such as bumblebees or birds such as peckers.
Fascia is chemically treated to keep insects away, but with time, they become vulnerable. Small holes can be sealed using commercial sealing agents, but you will need to replace them once the fascia develops large holes.
2. Cracks
Cracks on the fascia could mean that the wood is old. It could also mean that it is waterlogged and needs to be replaced.
Cracks appear in fascia when it is exposed to extreme conditions. The water inside expands and warps the wood, causing bloating and cracks. If it happens, you will need to replace the fascia.
3. Mold
Mold is a sign that the wood was not treated properly. It could also mean that the wood did not meet moisture resistance requirements.
You must purchase durable wood from a reputable vendor. You can consult a handyperson on the best type of wood to use for fascia.
If you notice a growth in the wood, you should replace the fascia immediately.
4. Rotting
Fascia will begin to rot if exposed to moisture for long periods. Moisture will cause the wood to unravel quickly, and it will start collapsing in chunks.
How To Replace Fascia
Replacing the fascia is relatively simple. When replacing fascia, you should use cured hardwood that can withstand extreme weather. What is the procedure?
Step 1: Remove the drip edge
Start by removing the drip edge and the gutters. Do not worry. The drip edge and gutters are reusable.
Step 2: Remove the old fascia
Removing fascia is simple. All you need is a hummer to pry the mounting nails out of the wood.
Step 3: Trimming the new boards
The dimensions of the new fascia are measured out and trimmed into size.
Step 4: Sealing
Sealing refers to adding layers of protective coating to the wood. The coating will protect the wood from mold, fungi, insects, pecking birds, bumblebees, among other insects. Leaving wood unsealed makes it vulnerable to insects.
Step 5: Install gutters and the drip edge
Once the fascia has been replaced, install the gutters and the drip edge.
Conclusion
It is important to ensure that roofing material lasts long. There are several protective measures to ensure that roofs are durable and safe.
Drip edges serve an important function, and they keep water away from roof fascia. Run of water will erode the fascia over time, and it will cause it to deteriorate and fall off.
With all roofing material, you must install a drip edge. Metallic roofs don’t require drip edges if the roofing extends an inch over the edge.